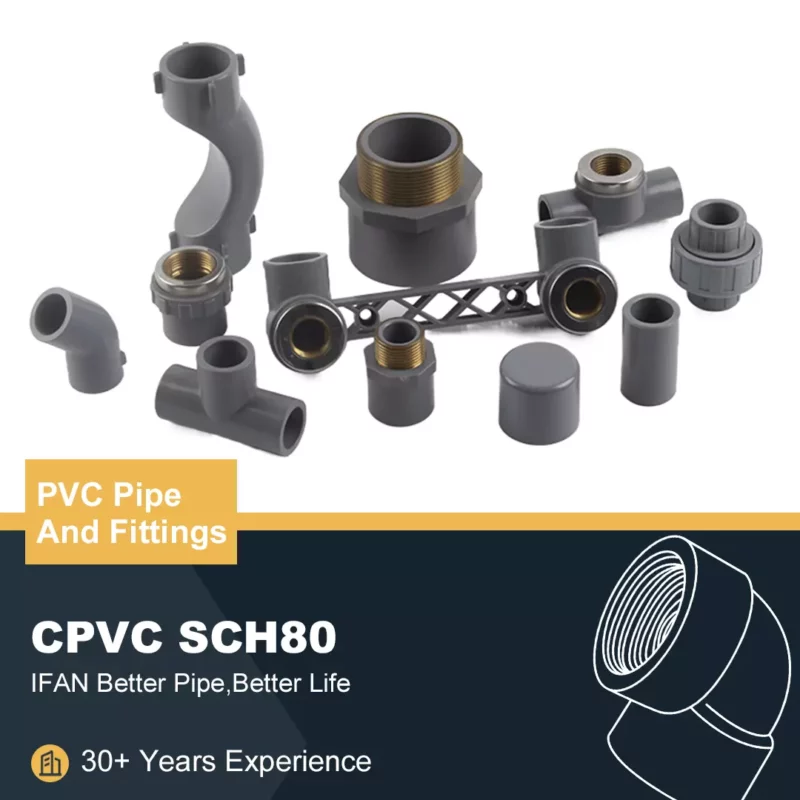
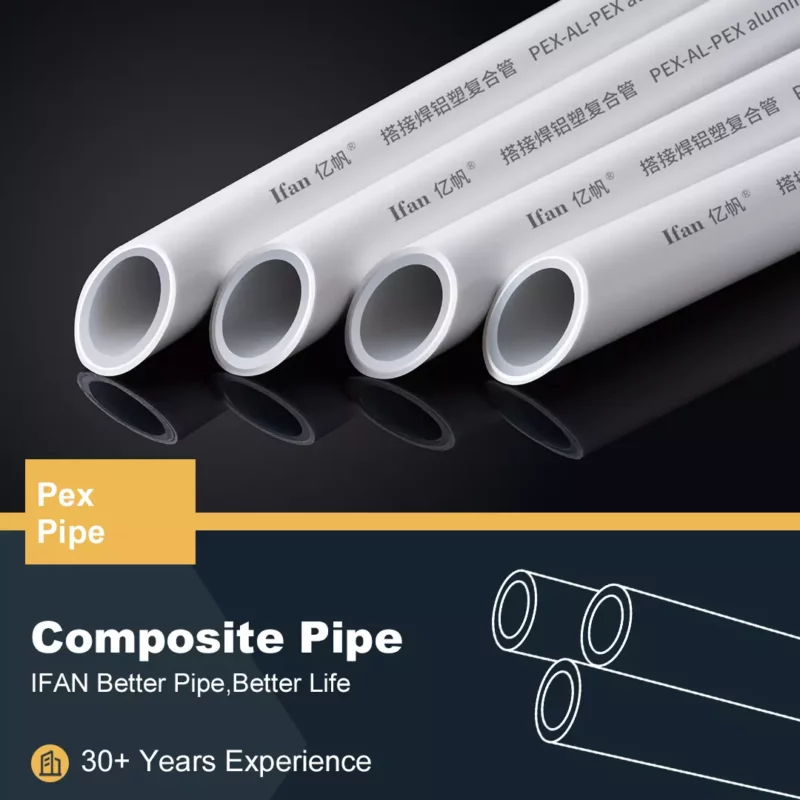
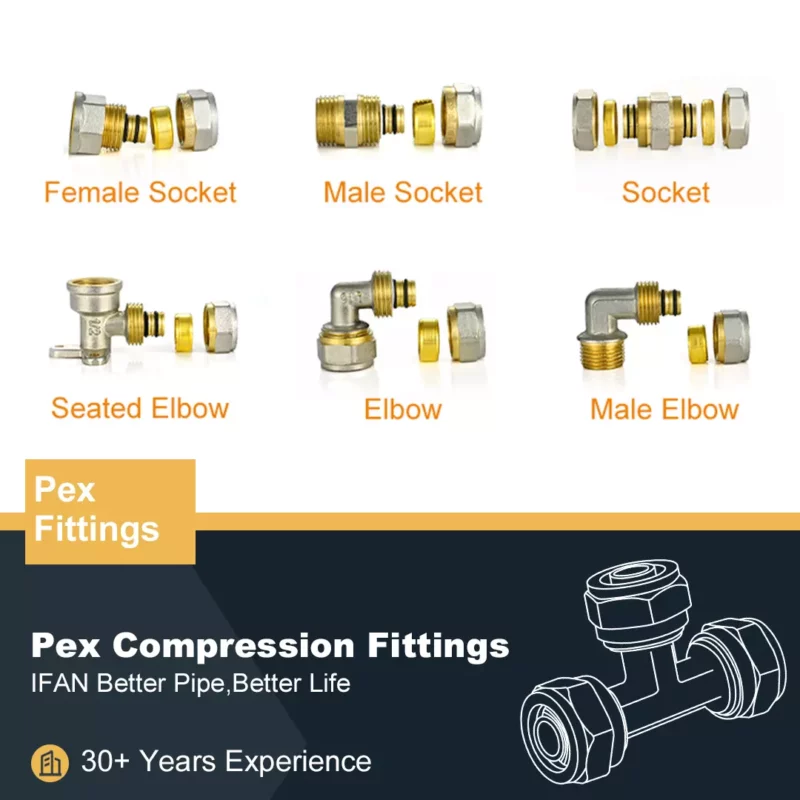
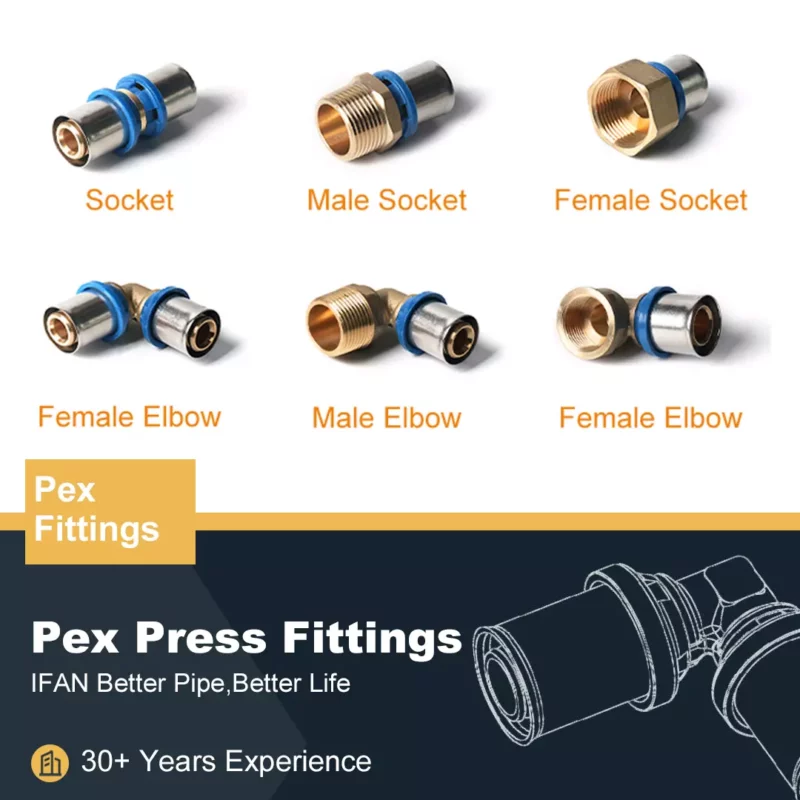
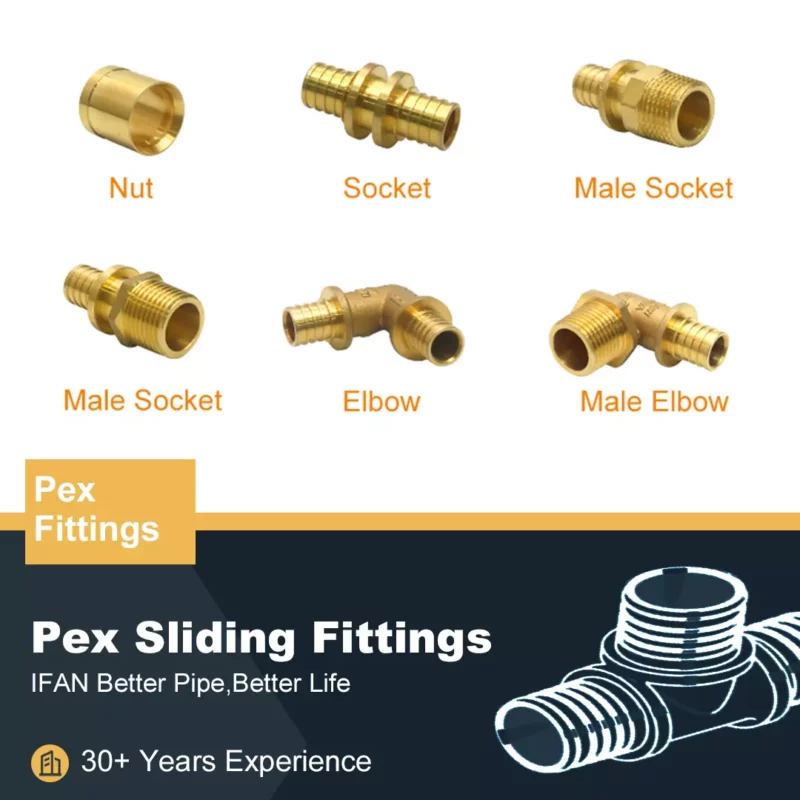
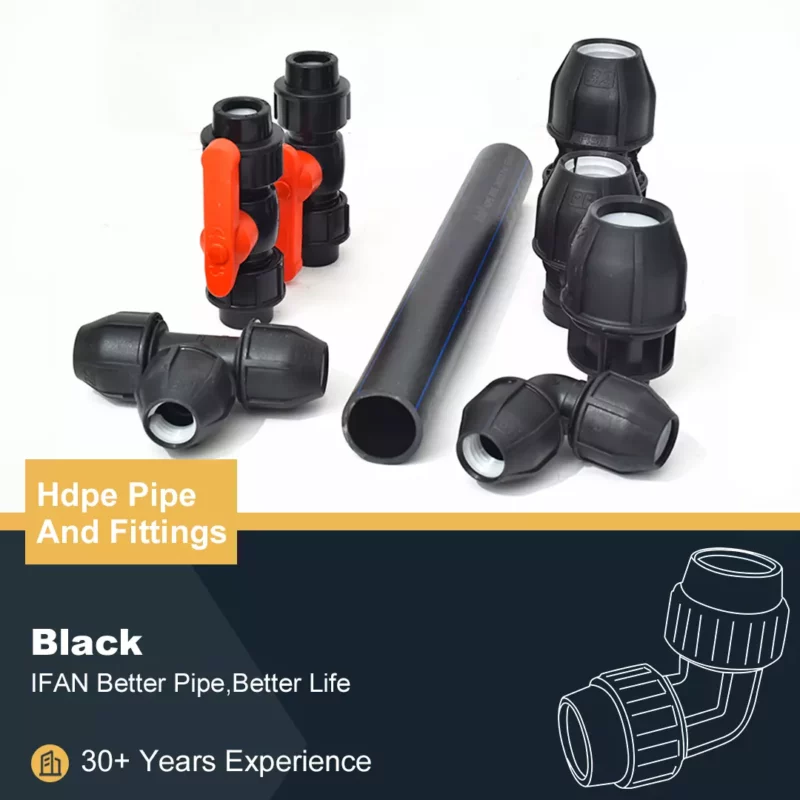
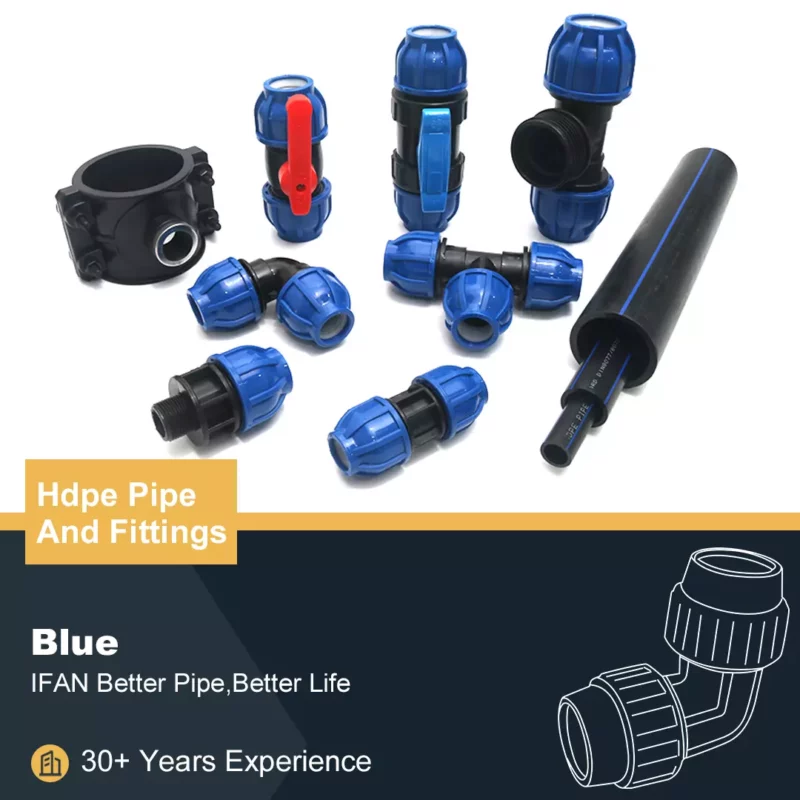
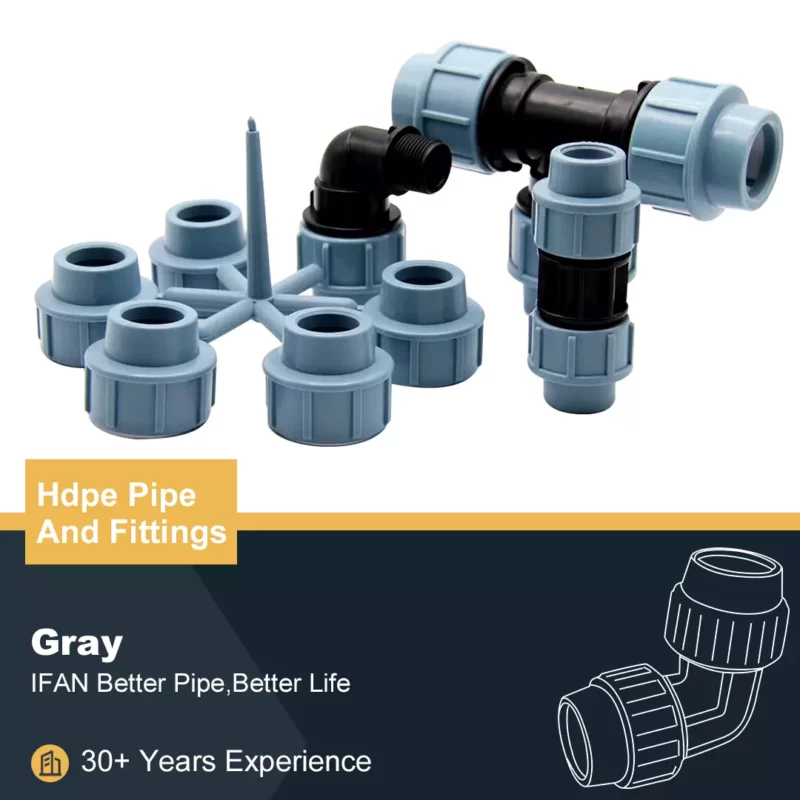
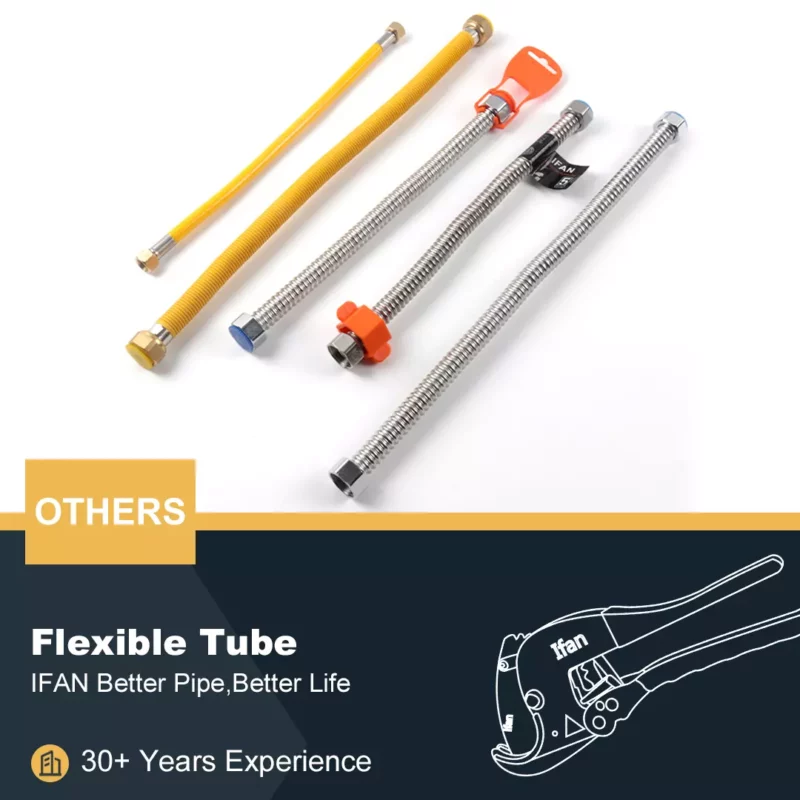
Installing Shark Bite fitting is a straightforward process. These fittings are designed for ease of use, eliminating the need for soldering or gluing. Whether you’re a seasoned plumber or a DIY enthusiast, Shark Bite fittings offer a convenient solution for various plumbing needs.
Preparation: Gather Your Tools
Before starting the installation process, gather all the necessary tools and materials. You’ll need a Shark Bite fitting suitable for your application, a pipe cutter capable of cutting the type of pipe you’re working with, and a deburring tool to smooth out the edges of the cut pipe. Additionally, have a tape measure and a marker on hand to accurately measure and mark the pipe for cutting.
Cutting the Pipe: Precision is Key
Once you’ve measured and marked the pipe at the desired length, it’s time to make the cut. Use the pipe cutter to ensure a clean and precise cut. Position the cutter perpendicular to the pipe and rotate it around the pipe until the cut is complete. It’s crucial to maintain precision during this step to ensure a proper fit with the Shark Bite fitting.
Deburring: Smooth Out the Edges
After cutting the pipe, use the deburring tool to remove any burrs or rough edges from the cut end. Simply slide the deburring tool over the cut end of the pipe to smooth out the edges. This step is essential for creating a clean surface that facilitates a secure connection with the Shark Bite fitting.
Inserting the Fitting: Push and Lock
With the pipe cut and deburred, it’s time to insert the Shark Bite fitting. Simply push the fitting onto the pipe until it reaches the insertion depth mark indicated on the fitting. The unique design of Shark Bite fittings allows for quick and easy installation without the need for additional tools or equipment. Once inserted, the fitting creates a secure and watertight seal.
Checking Alignment: Straightness Matters
After inserting the fitting, take a moment to ensure proper alignment between the fitting and the pipe. The fitting should sit flush against the pipe without any gaps or misalignments. Proper alignment is crucial for maintaining the integrity of the connection and preventing leaks in the plumbing system. Make any necessary adjustments to ensure a straight and secure fit.
Testing: Confirm a Secure Connection
Once the fitting is in place, it’s time to test the connection. Turn on the water supply and carefully inspect the fitting for any signs of leaks. Pay close attention to areas where the fitting meets the pipe and any joints or connections. If you notice any leaks, tighten the fitting as needed until the connection is secure and watertight.
Conclusion: Enjoy the Benefits
In conclusion, fitting a Shark Bite fitting is a simple and hassle-free process. With the right tools and a basic understanding of the installation steps, you can quickly and confidently install Shark Bite fittings in various plumbing applications. Enjoy the convenience and reliability of Shark Bite fittings for your plumbing needs, whether it’s a repair job or a new installation project.
If you have read this article and have any questions, please feel free to contact IFAN. Below is our contact information:
Whatsapp:+86 13373827623
Email:[email protected]

