
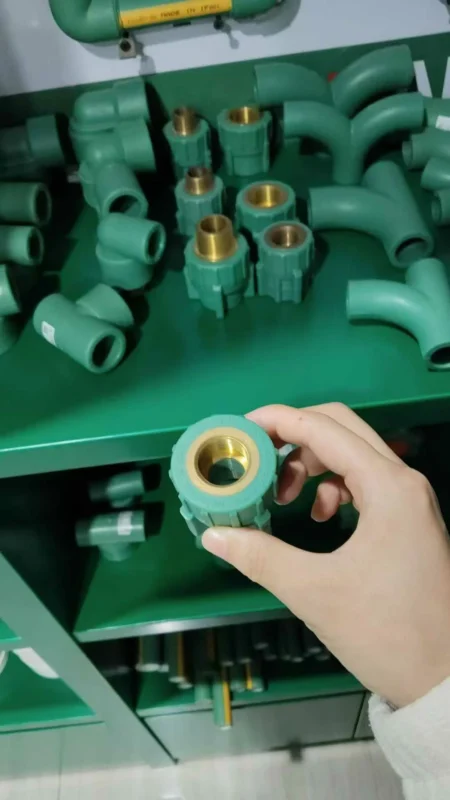
Essential Tools and Safety Preparation
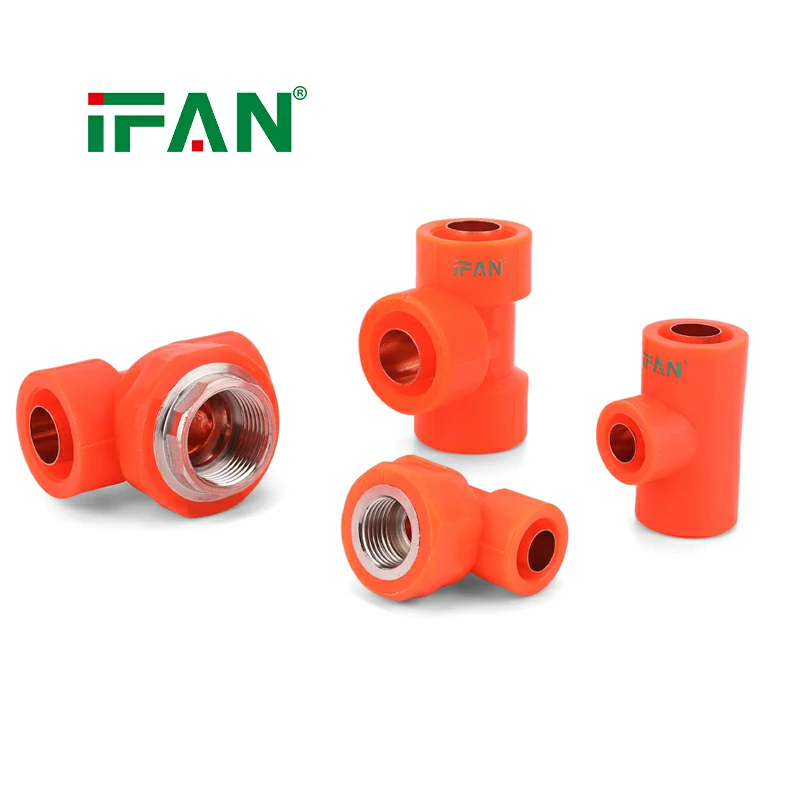
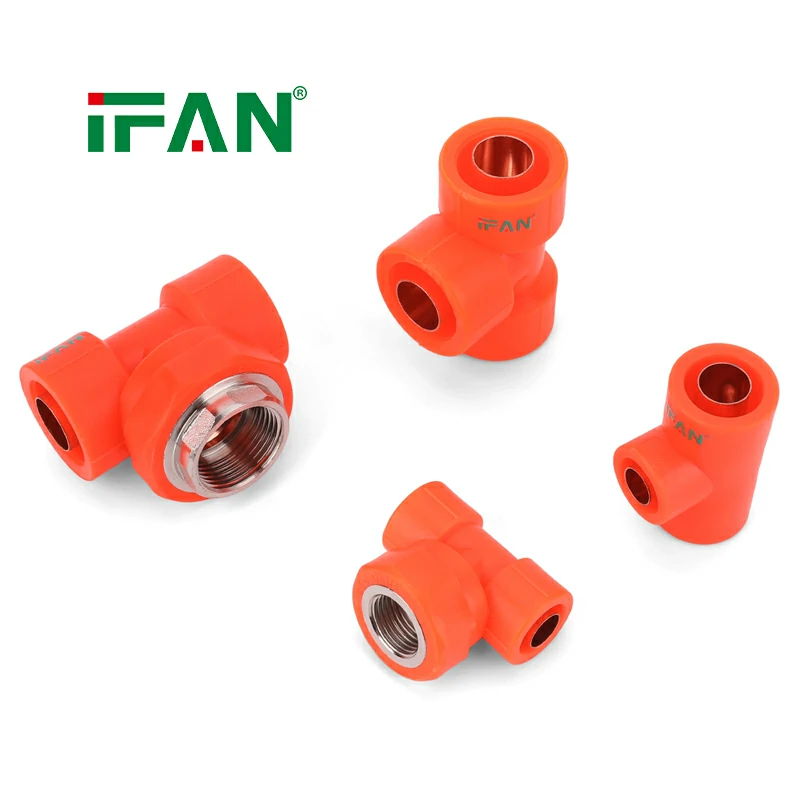
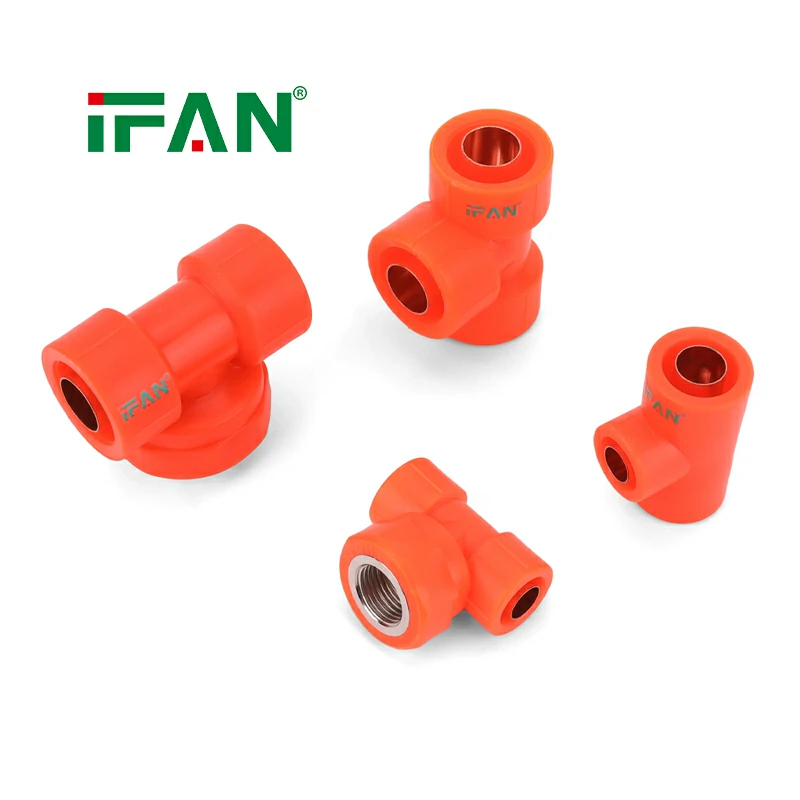
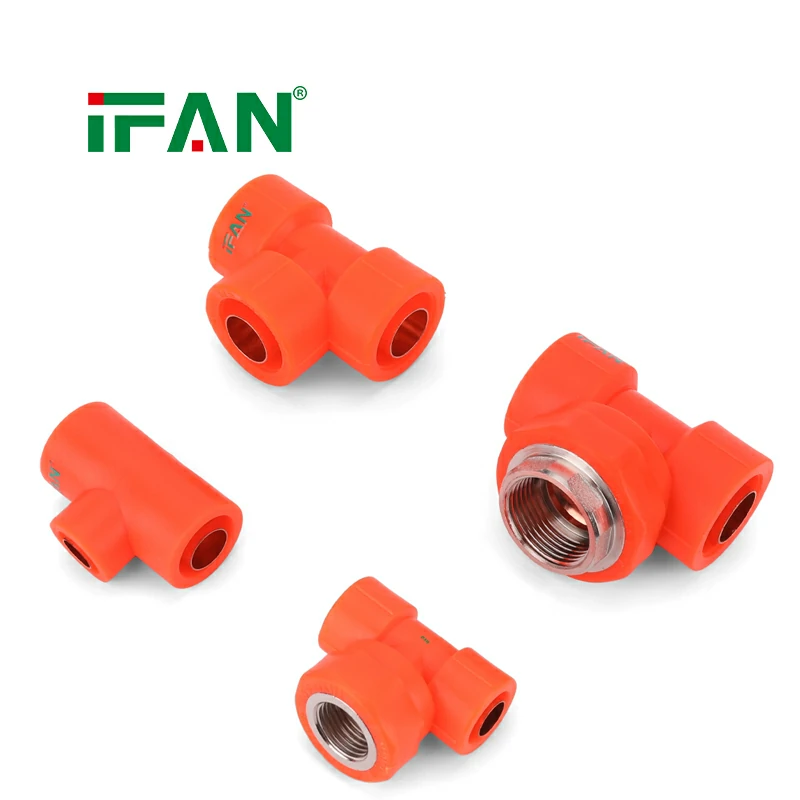
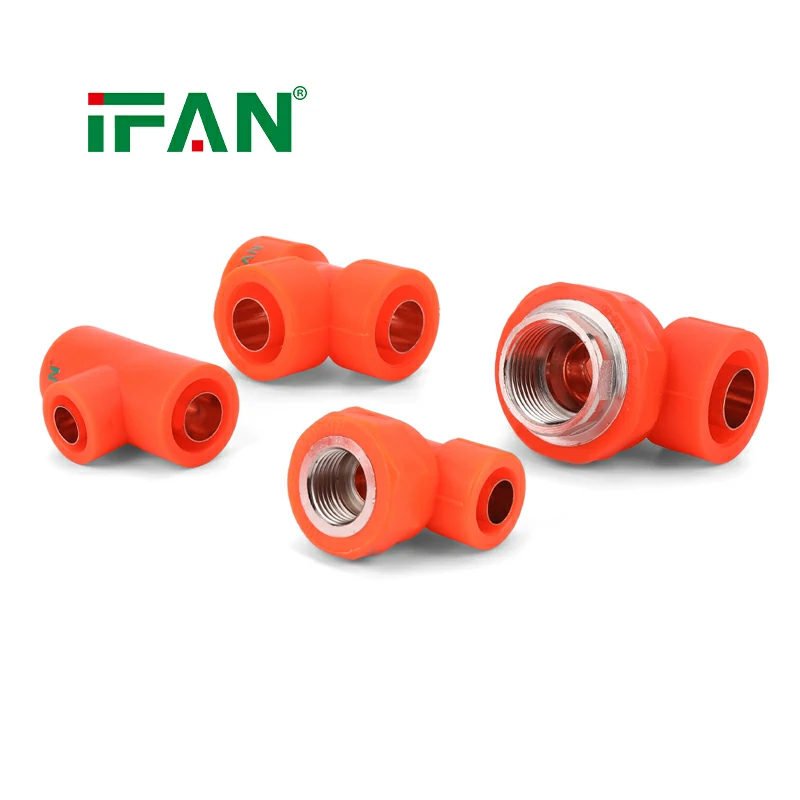
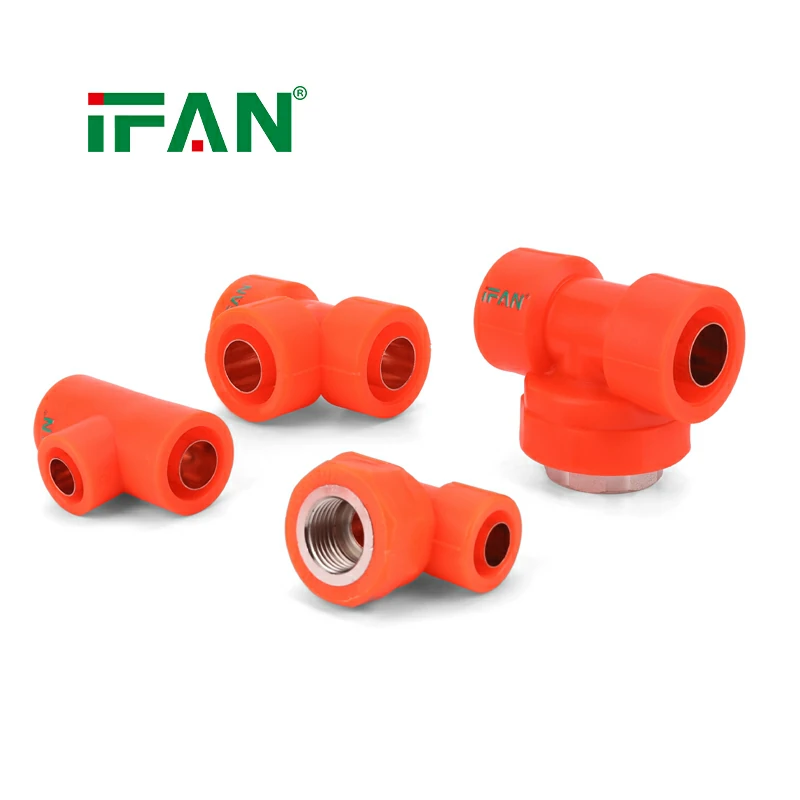
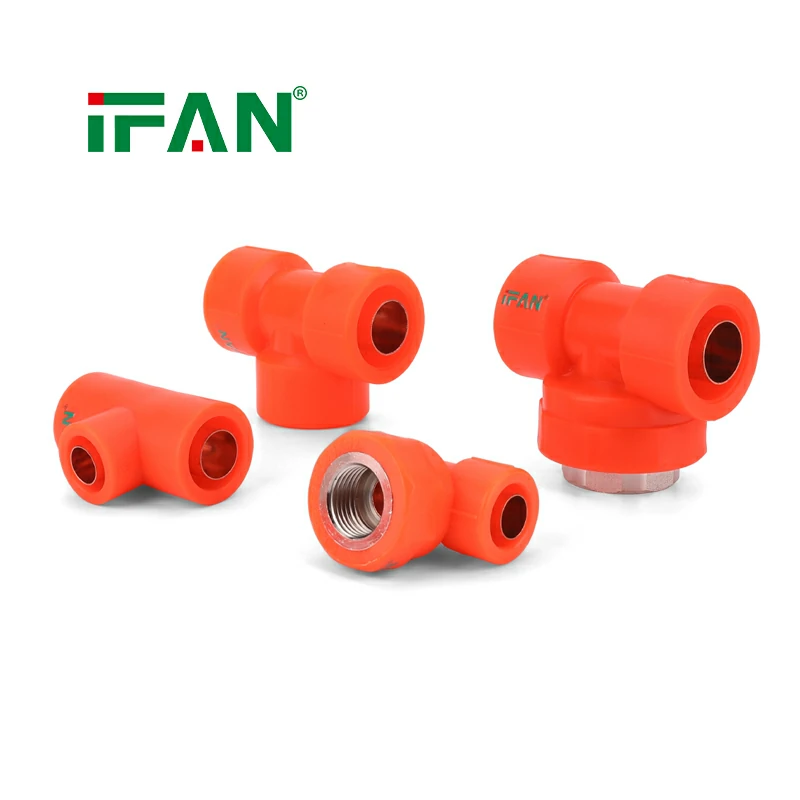
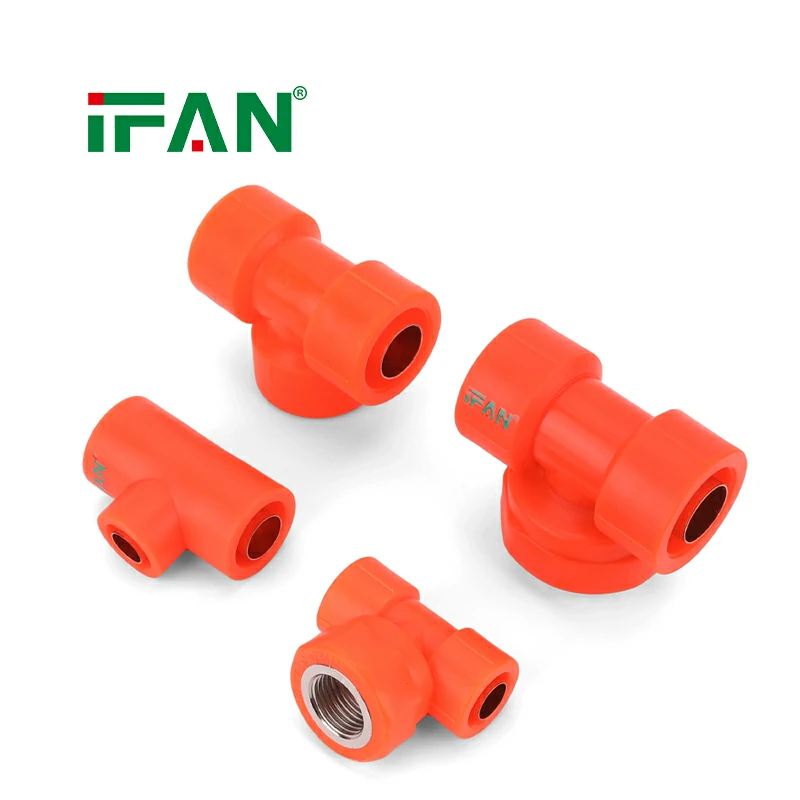
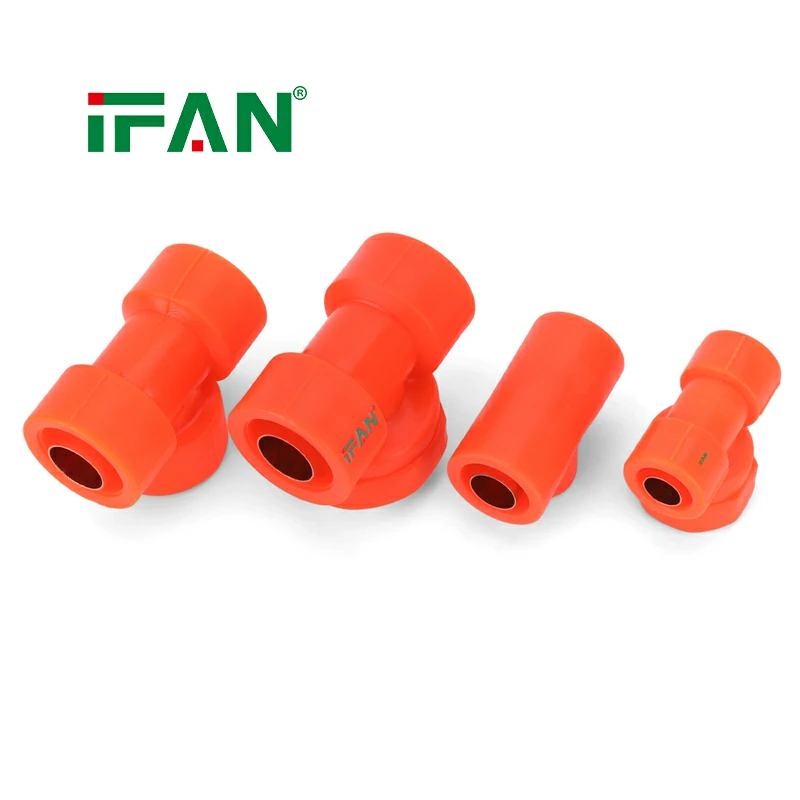
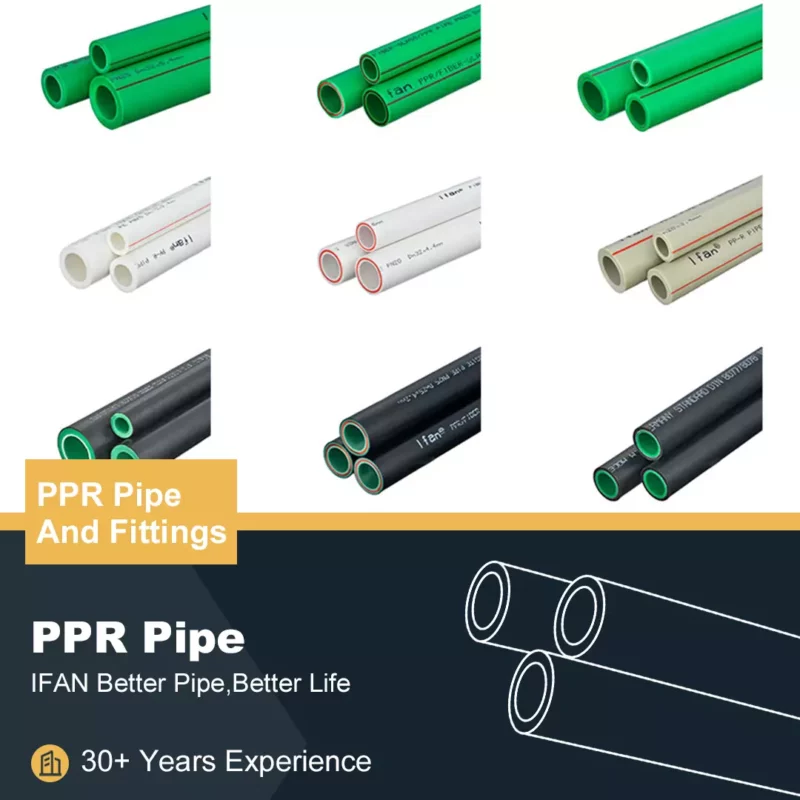
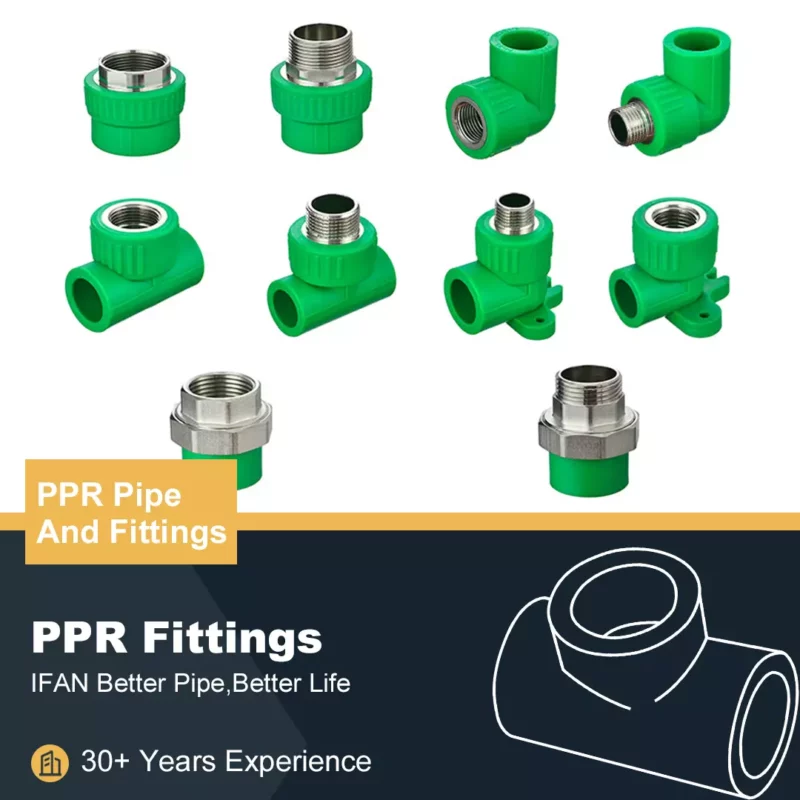
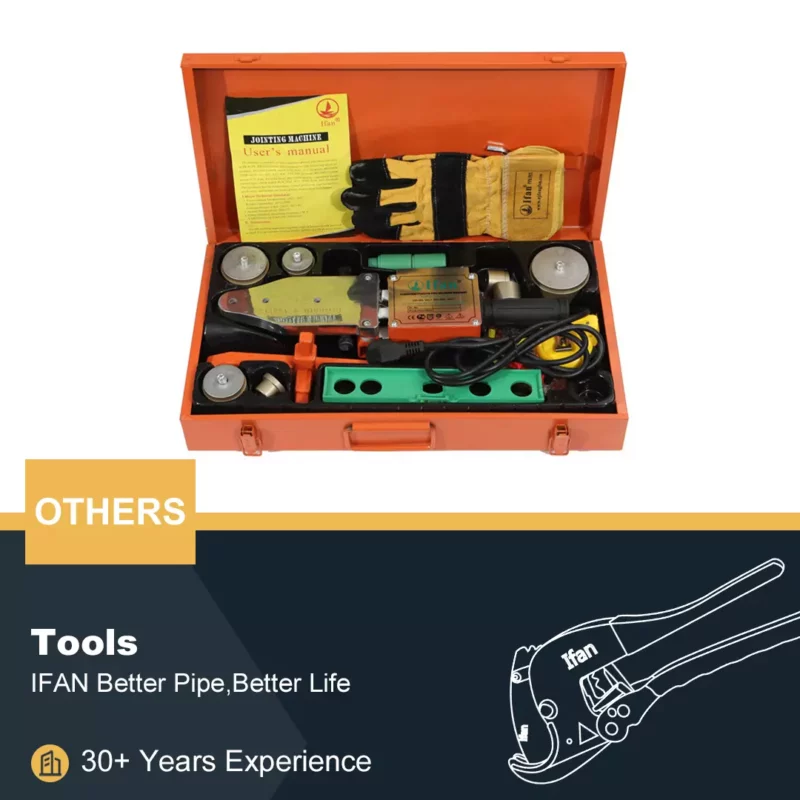
PPR Fitting You need a dedicated PPR welding machine. Also have pipe cutters and a marking tool. Always wear protective heat-resistant gloves. Ensure your workspace is clean and dry. Prepare all fittings and pipes beforehand. Have a layout diagram for reference. Check all measurements twice before cutting.
Step 1: Precise Pipe Cutting
Use a dedicated plastic pipe cutter. Ensure the cut is perfectly square. A crooked cut leads to a poor joint. Remove all burrs from the cut edge. Clean the pipe end from dust and grease. Mark the required insertion depth on the pipe. Use the fitting itself as a depth gauge.
Step 2: Preparing the Welding Machine
Set the welding machine to the correct temperature. For PPR, this is typically 260°C ± 10°C. Allow it to fully heat up. The indicator light will signal readiness. Use the correct heating attachments. Match them to your pipe and fitting sizes. Never use attachments for a different size.
Step 3: The Heating and Joining Process
Simultaneously heat the pipe end and fitting socket. Push them onto the heated mandrels without twisting. Hold them for the manufacturer’s recommended time. Heating time depends on the pipe diameter. Remove them from the heater quickly and smoothly. Immediately join them together in a straight push. Hold them steady for the cooling time.
Common Mistakes to Avoid
Do not overheat or underheat the material. Never twist the parts during joining. Twisting weakens the molecular structure. Ensure insertion is to the full marked depth. Incomplete insertion creates a weak joint. Avoid applying force during the cooling period. Do not use water to cool the joint faster.
Testing Your Joints After Installation
Conduct a visual inspection first. A proper joint has a small, even bead of melted material. This bead should form all around the pipe. It is called the “roll” or “bead”. After system completion, perform a pressure test. Fill the system with water and pressurize it. Check every joint carefully for any leaks.
Troubleshooting Poor Fusion Joints
A small bead indicates insufficient heating. A large, drooping bead means overheating. If the pipe cannot be inserted fully, clean the socket. Debris might be inside the fitting. For complex angles, pre-assemble sections on the floor. Then install the assembled unit into position. Practice on scrap pieces first.
If you have read this article and have any questions, please feel free to contact IFAN. Below is our contact information:
Whatsapp:+86 13373827623
Email:[email protected]