


There’s a moment in every plumbing installation where theory becomes reality—when separate pieces of pipe become a unified system. For generations, this moment smelled of flux and sounded with the hiss of a propane torch. Today, it’s different. The process of connecting PEX press fittings represents a fundamental shift in plumbing methodology, one that prioritizes precision engineering over artisan skill, and verifiable results over practiced intuition.
Making these connections isn’t difficult, but understanding what’s happening during those few seconds when the press tool engages separates adequate work from exceptional work. This isn’t just about following steps; it’s about understanding the system you’re building.
The Anatomy of a Connection
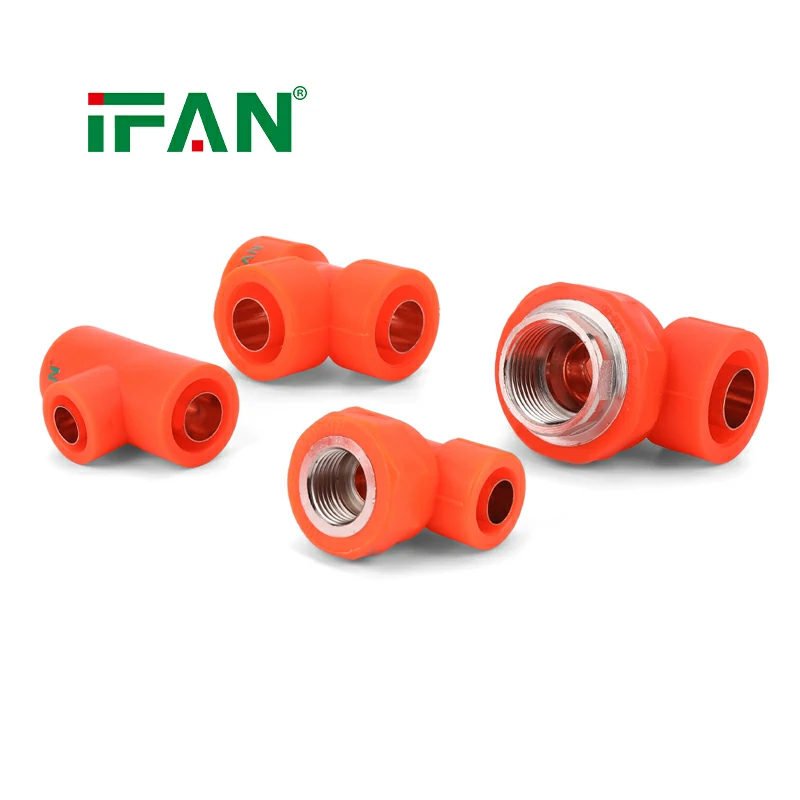
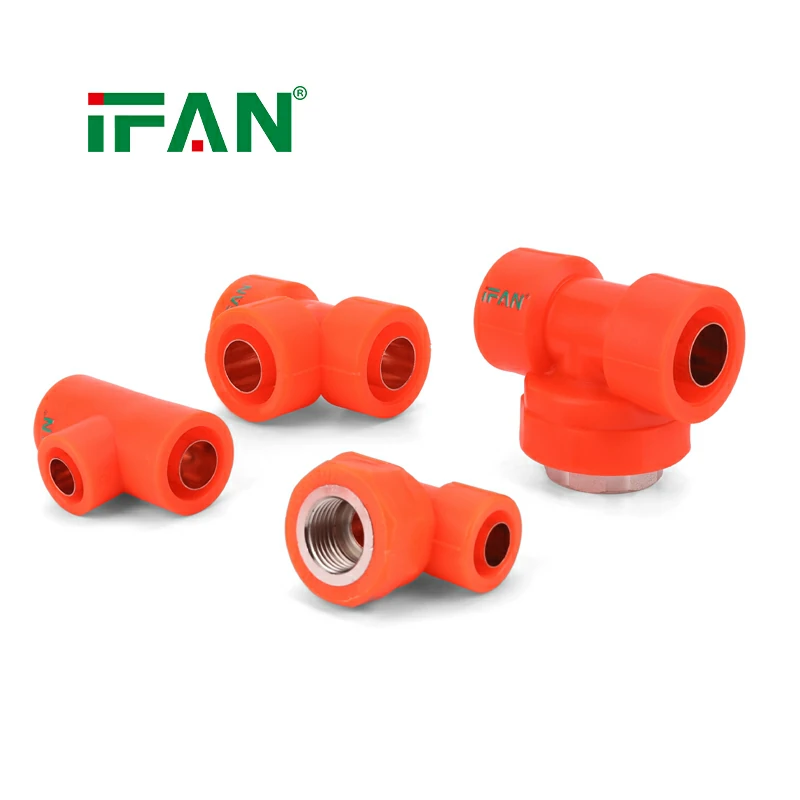
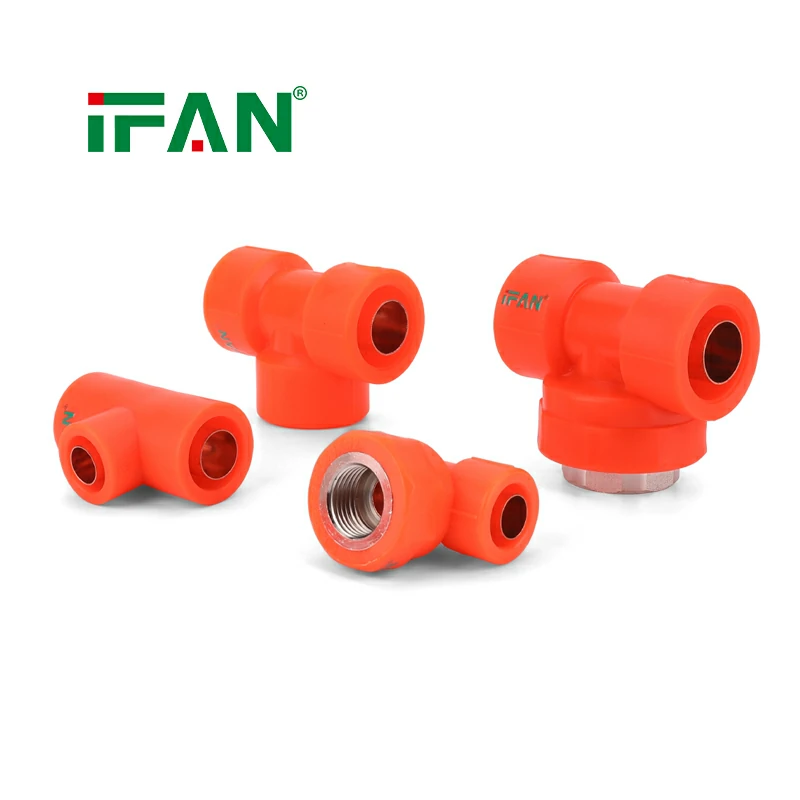
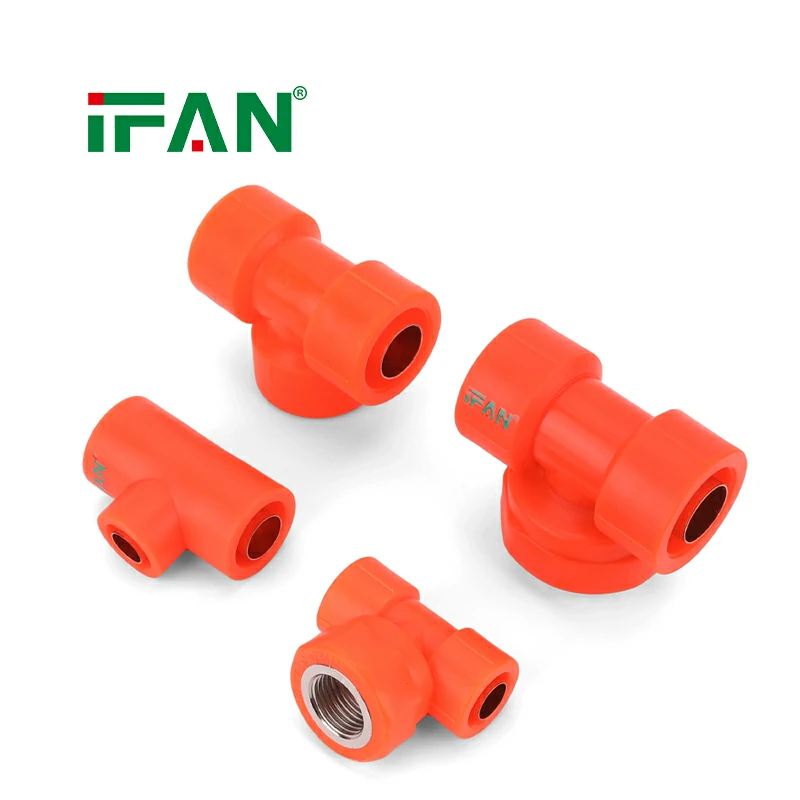
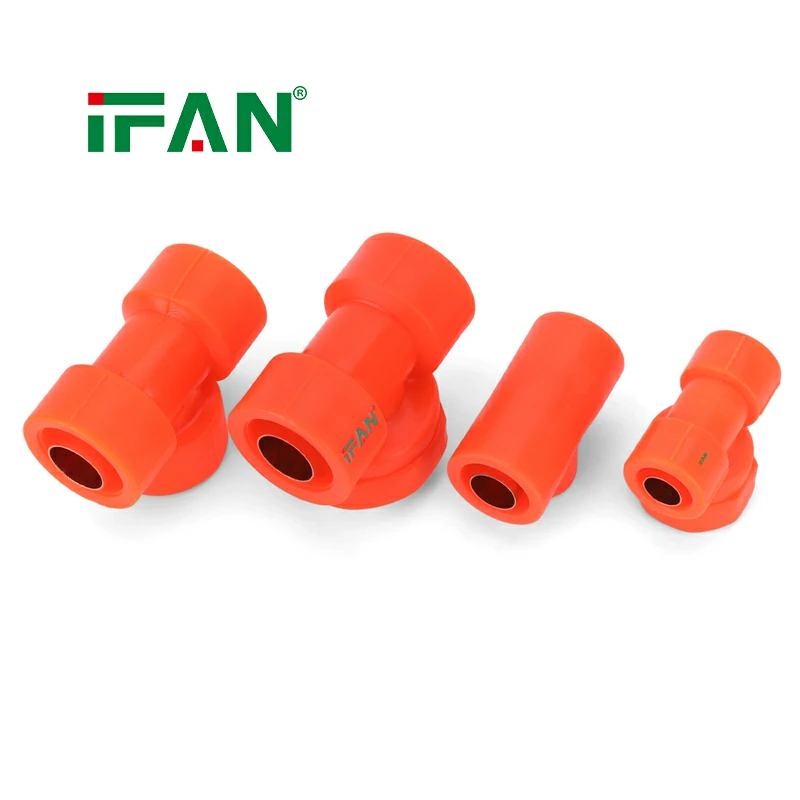
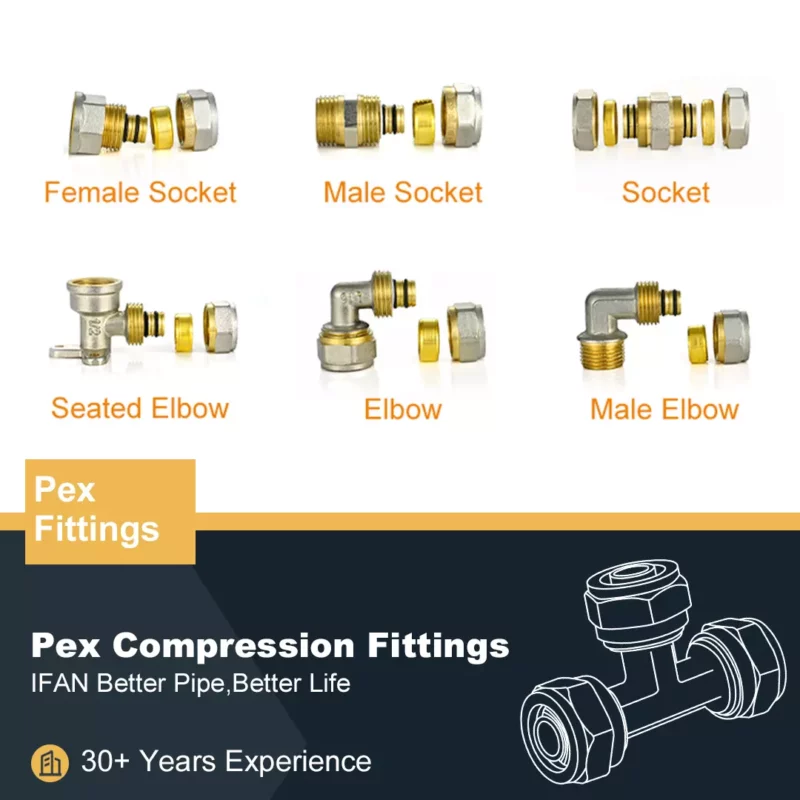
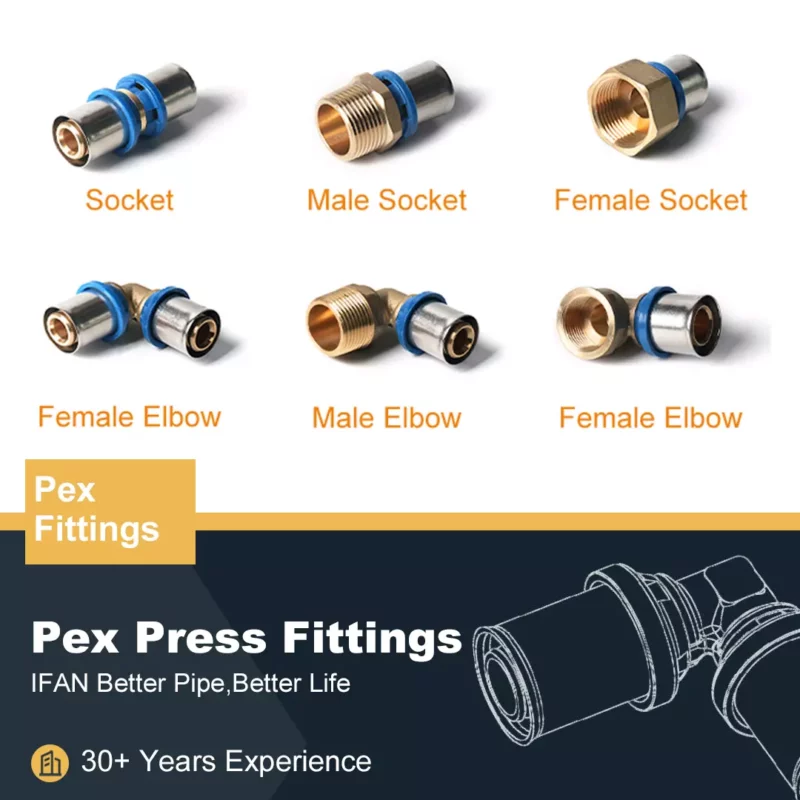
Before you even pick up a tool, it’s crucial to understand what you’re working with. A PEX press fitting isn’t a single piece of brass. It’s a precisely engineered system comprising three key components:
- The brass fitting body, which contains the waterway and the O-ring seat
- The EPDM O-ring, permanently seated in its groove
- The stainless-steel press sleeve, which sits loosely over the body
The magic happens when these three components work in concert with the PEX tubing itself. The goal isn’t just to “squish” the sleeve—it’s to create a perfect environment where the mechanical strength of the pressed sleeve combines with the chemical resilience of the O-ring to create a seal that can last for decades.
The Five-Step Process: Where Perfection Lives
Connecting PEX press fittings follows a deceptively simple sequence. Rushing any step, however, compromises the entire system.
Step 1: The Perfect Cut
This is the most overlooked step. Using a dedicated PEX cutter isn’t a suggestion—it’s a requirement. A clean, square cut ensures the PEX tube seats fully against the internal stop of the fitting. An angled cut creates a gap that the O-ring must bridge, compromising the seal and reducing the fitting’s effective life. A quick visual check and a deburring tool pass eliminate this risk entirely.
Step 2: The Depth Gauge Mark
Every reputable PEX press fitting has a depth mark or gauge line. Before insertion, mark this depth on your PEX tube with a permanent marker. This simple act provides immediate visual confirmation that the pipe is fully seated. It’s your first quality control check, and it costs nothing but a second of your time.
Step 3: The Clean Insertion
Wipe the end of the PEX tube with a clean cloth. While PEX systems are more forgiving of dust than soldered joints, debris can compromise an O-ring. Push the tube into the fitting until it bottoms out firmly against the internal stop. Verify your depth mark is flush with the fitting’s edge. You should feel a solid, definitive stop—not a mushy, uncertain one.
Step 4: The Tool Placement
This is where confidence matters. Open the correct jaw set for your PEX press fittings and position it squarely over the press sleeve. The tool should sit evenly, not cocked to one side. Take a moment to ensure the tool isn’t pinching any other pipes or your own fingers. The hydraulic pressure involved is immense and unforgiving.
Step 5: The Press and Verification
Press the trigger. You’ll hear the motor strain briefly before the tool completes its cycle with a distinct click or beep. Modern tools provide both audible and visual confirmation (a green light) of a successful press. Do not release the tool prematurely. Once released, visually inspect the sleeve. It should be uniformly compressed, with no gaps or uneven crimps.
The Thought Process Behind the Connection
While the hands are working through these steps, an experienced installer’s mind is running through a separate checklist:
- Is this the correct jaw for this brand of fitting? (Using Viega jaws on an Uponor fitting is a catastrophic error)
- Is my battery charged sufficiently? (A low battery can result in an incomplete press)
- Have I supported the pipe on both sides of the fitting? (A unsupported fitting carries stress back to the connection)
- Is there any residual strain on the connection? (The piping should be relaxed, not forced into alignment)
This mental discipline prevents the 1% of errors that cause 99% of the problems.
Beyond the Basics: The System-Wide Perspective
Connecting individual PEX press fittings is straightforward. Connecting them into a coherent, reliable system requires foresight. Plan your runs to minimize fittings. Every connection is a potential point of failure, no matter how reliable. Use the flexibility of PEX to your advantage, creating smooth, sweeping bends instead of multiple 90-degree elbows where possible.
Consider future serviceability. While PEX press fittings are permanent, installing service valves at strategic points and ensuring reasonable access to critical junctions demonstrates professional craftsmanship that clients will appreciate years later.
The process of connecting PEX press fittings has democratized quality plumbing. It has taken a skill that once required years to master and made it accessible, reliable, and verifiable. But at its heart, it still requires the same care, attention to detail, and systematic thinking that has always defined the best work in the trades. The tools have changed, but the responsibility remains.
Frequently Asked Questions (FAQ)
1. Can you reuse a PEX press fitting if you make a mistake?
No. The pressing process permanently deforms the stainless-steel sleeve. Once pressed, the fitting cannot be removed or reused. The only solution is to cut out the fitting and replace it with a new one.
2. How do I know if my press was successful?
Modern press tools provide both an audible signal (a beep) and a visual signal (a green light). Additionally, many PEX press fittings feature a visual inspection window that shows a colored indicator when the press is complete and correct.
3. Is it necessary to calibrate the press tool?
Yes, but not frequently. Professional-grade press tools are designed to maintain calibration. Manufacturers typically recommend annual calibration or after a certain number of presses (e.g., 10,000). Check your tool’s manual for specific requirements to maintain its warranty.
4. What happens if I press a fitting without the PEX tube inserted?
This will destroy the fitting. The press sleeve will be crimped onto nothing, collapsing the fitting body and rendering it useless. Always visually confirm the pipe is inserted to the depth mark before pressing.
5. Can I use one brand of press jaws with a different brand of PEX press fittings?
Absolutely not. The jaw profiles are manufacturer-specific and engineered to match the exact dimensions of their press sleeves. Using mismatched jaws will result in an incomplete or faulty press, voiding warranties and likely causing a leak.
Whatsapp:+86 13373827623
Email:[email protected]